- Overview
- Products
- Featured Products
- Abrasives
- Adhesives, Coatings & Sealers
- Body Filler & Glazes
- Compounds, Polishes & Glazes
- Heavy Duty Truck
- Masking
- Paint Spray Equipment & PPS™
- Tools, Dust Extraction, Accessories
- View All Products
- Applications
- Abrasive Productivity
- Bumper and Plastic Repair
- Corrosion Protection
- Heavy Duty Truck
- Metal Shop
- Paint Shop
- Paint Shop Efficiency
- Paint Finishing & Detail
- Seam Sealers and Coatings
- View All Applications
- Resources
- Training
- Support
About Paint Finish Full Panel Process
-
Pellentesque habitant morbi tristique senectus et netus et malesuada fames ac turpis egestas. Vestibulum tortor quam, feugiat vitae, ultricies eget, tempor sit amet, ante. Donec eu libero sit amet quam egestas semper. Aenean ultricies mi vitae est. Mauris placerat eleifend leo. Quisque sit amet est et sapien ullamcorper pharetra. Pellentesque habitant morbi tristique senectus et netus et malesuada fames ac turpis egestas. Vestibulum tortor quam, feugiat vitae, ultricies eget, tempor sit amet, ante.
Download English Paint Finish Full Panel Process Standard Operating Procedure (PDF, 748 Kb)
Paint Finish Full Panel Process Steps
-

Step 1: Initial Defect Removal Texture Match
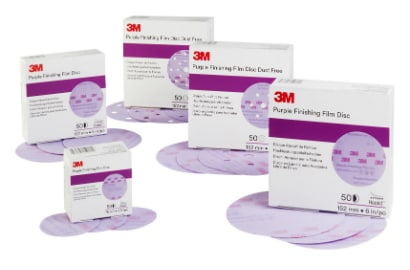
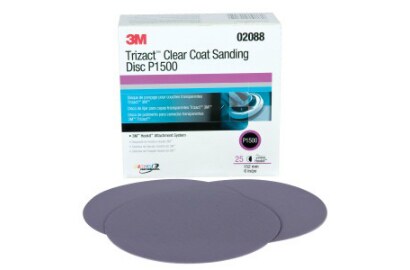
DA sand the repair area with a P1500/P2000 3M™ Purple Finishing Film Hookit™ Disc or P1500 3M™ Trizact™ Clearcoat Sanding Disc used damp. Remove all paint defects and match texture to adjacent OEM panels. Wipe panel clean.
Vestibulum tortor quam, feugiat vitae, ultricies eget, tempor sit amet, ante. Donec eu libero sit amet quam egestas semper. Aenean ultricies mi vitae est. Mauris placerat eleifend leo. Quisque sit amet est et sapien ullamcorper pharetra.
-

Step 2: Scratch Refinement 3000
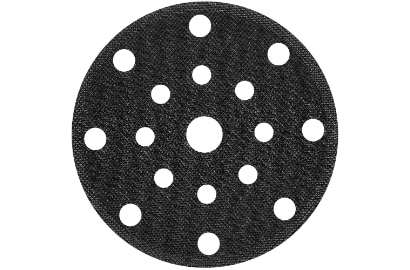
Refine the P1500/P2000 scratches with a DA and a 3000 3M™ Trizact™ Hookit™ Foam Disc used damp with a 3M™ Hookit™ Soft Interface Pad. Wipe panel clean.
Aenean ultricies mi vitae est. Mauris placerat eleifend leo. Quisque sit amet est et sapien ullamcorper pharetra. Vestibulum tortor quam, feugiat vitae, ultricies eget, tempor sit amet, ante. Donec eu libero sit amet quam egestas semper. Aenean ultricies mi vitae est. Mauris placerat eleifend leo. Quisque sit amet est et sapien ullamcorper pharetra.
-

Step 3: Scratch Refinement 5000 (Optional)
To reduce your buffing time refine the 3000 scratches with a DA and a 5000 grit 3M™ Trizact™ Hookit™ Foam Disc used damp with a 3M™ Hookit™ Soft Interface Pad. Wipe panel clean. The use of 3000 is required prior to 5000 for best results.
Vestibulum tortor quam, feugiat vitae, ultricies eget, tempor sit amet, ante. Donec eu libero sit amet quam egestas semper. Aenean ultricies mi vitae est. Mauris placerat eleifend leo. Quisque sit amet est et sapien ullamcorper pharetra.
-

Step 4: Compound
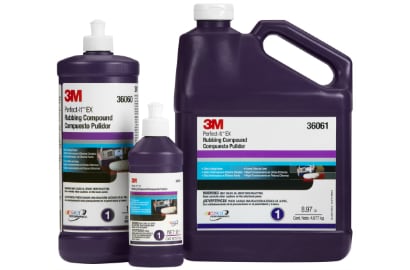
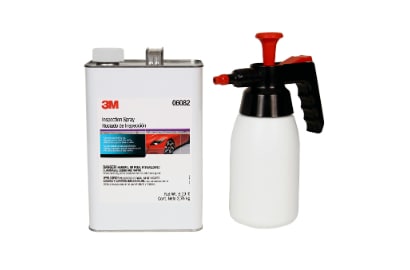
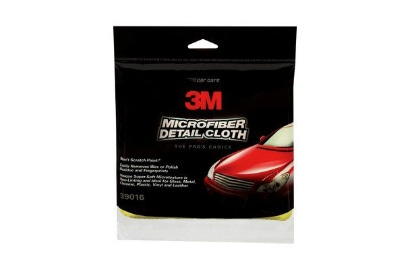
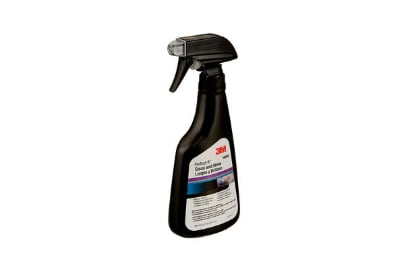
Compound the repair area with a high speed polisher set between 1200–2000 RPM. For faster results, use a foam compounding pad and the appropriate rubbing compound. To insure all sand scratches have been removed, inspect the surface by spraying with an Inspection Spray and wipe clean with a yellow microfiber cloth.
Mauris placerat eleifend leo. Quisque sit amet est et sapien ullamcorper pharetra. Vestibulum tortor quam, feugiat vitae, ultricies eget, tempor sit amet, ante. Donec eu libero sit amet quam egestas semper. Aenean ultricies mi vitae est. Mauris placerat eleifend leo. Quisque sit amet est et sapien ullamcorper pharetra.
-

Step 5: Machine Polish
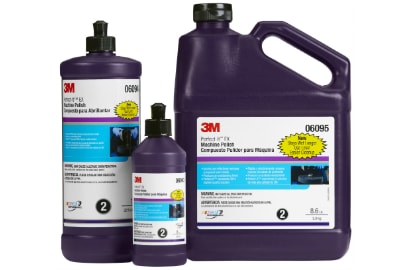
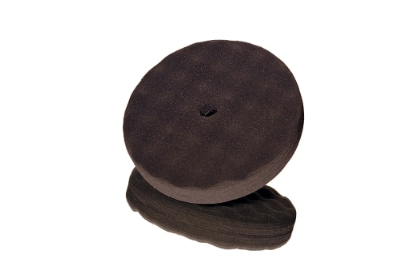
Polish the repair area with a high speed polisher set between 1200–2000 RPM. Use a black foam polishing pad and the appropriate machine polish. Wipe the panel clean with a yellow microfiber cloth.
Quisque sit amet est et sapien ullamcorper pharetra. Vestibulum tortor quam, feugiat vitae, ultricies eget, tempor sit amet, ante. Donec eu libero sit amet quam egestas semper. Aenean ultricies mi vitae est. Mauris placerat eleifend leo. Quisque sit amet est et sapien ullamcorper pharetra.
-

Step 6: Ultrafine Machine Polish
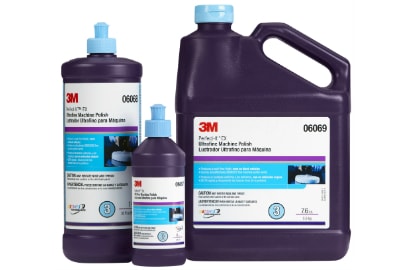
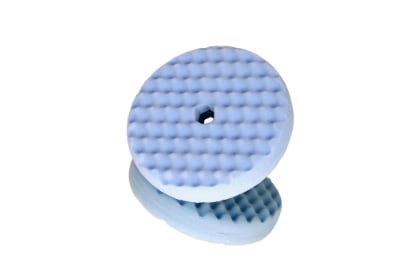
Polish the repair area with a high speed polisher with the speed set between 1200–2000 RPM. Use a blue foam polishing pad and the appropriate ultrafine machine polish. Leave a light film of the polish on the panel and wipe clean with a blue microfiber cloth.
Vestibulum tortor quam, feugiat vitae, ultricies eget, tempor sit amet, ante. Donec eu libero sit amet quam egestas semper. Aenean ultricies mi vitae est. Mauris placerat eleifend leo. Quisque sit amet est et sapien ullamcorper pharetra.
-

Step 7: Final Detail
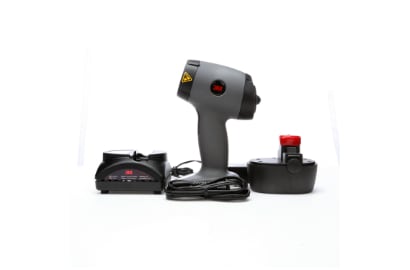
Remove any masking material from the repair area and clean any residual sling from adjacent panels and door jamb areas. Cleaning the panel immediately after compounding and polishing will greatly improve the ease of cleaning. Inspect the surface using the 3M™ SUN GUN™ II Light Kit.
Vestibulum tortor quam, feugiat vitae, ultricies eget, tempor sit amet, ante. Donec eu libero sit amet quam egestas semper. Aenean ultricies mi vitae est. Mauris placerat eleifend leo. Quisque sit amet est et sapien ullamcorper pharetra.
Request a Large Damage Repair Product Demonstration
Lorem ipsum dolor sit amet, consectetur adipiscing elit. Nam sed bibendum nisl. Donec venenatis tempor urna et adipiscing. Phasellus elementum lorem sit amet sem dignissim pretium sed condimentum augue. Fusce rhoncus vitae risus ac adipiscing.
-
Important NoteThere are of course many factors and variables that can affect an individual repair, so the technician and repair facility need to evaluate each specific application and repair process, including relevant vehicle, part and OEM guidelines, and determine what is appropriate for that repair.
